June 13, 2025
To further expand my integration of ManageEngine tools beyond APM, I decided to connect my Linux VM to ManageEngine Endpoint Central, a systems management platform that includes patching, inventory, and remote configurations. Unlike the APM Insight agent, the Endpoint Central agent does not connect over the public internet by default. It expects the server and client to be on the same local network.
For installation, I followed ManageEngine’s official Linux agent setup guides:
The Endpoint Central server was installed on my Windows development machine, while my Flask portfolio VM was running in the cloud via DigitalOcean. After installing the Linux agent on the VM, I expected it to appear in the Endpoint Central console. It didn’t.
Despite verifying that the agent was running, it was silently failing to connect because it was trying to reach an IP like 192.168.1.x, which only exists within my home network. The cloud-based VM could not access that IP range.
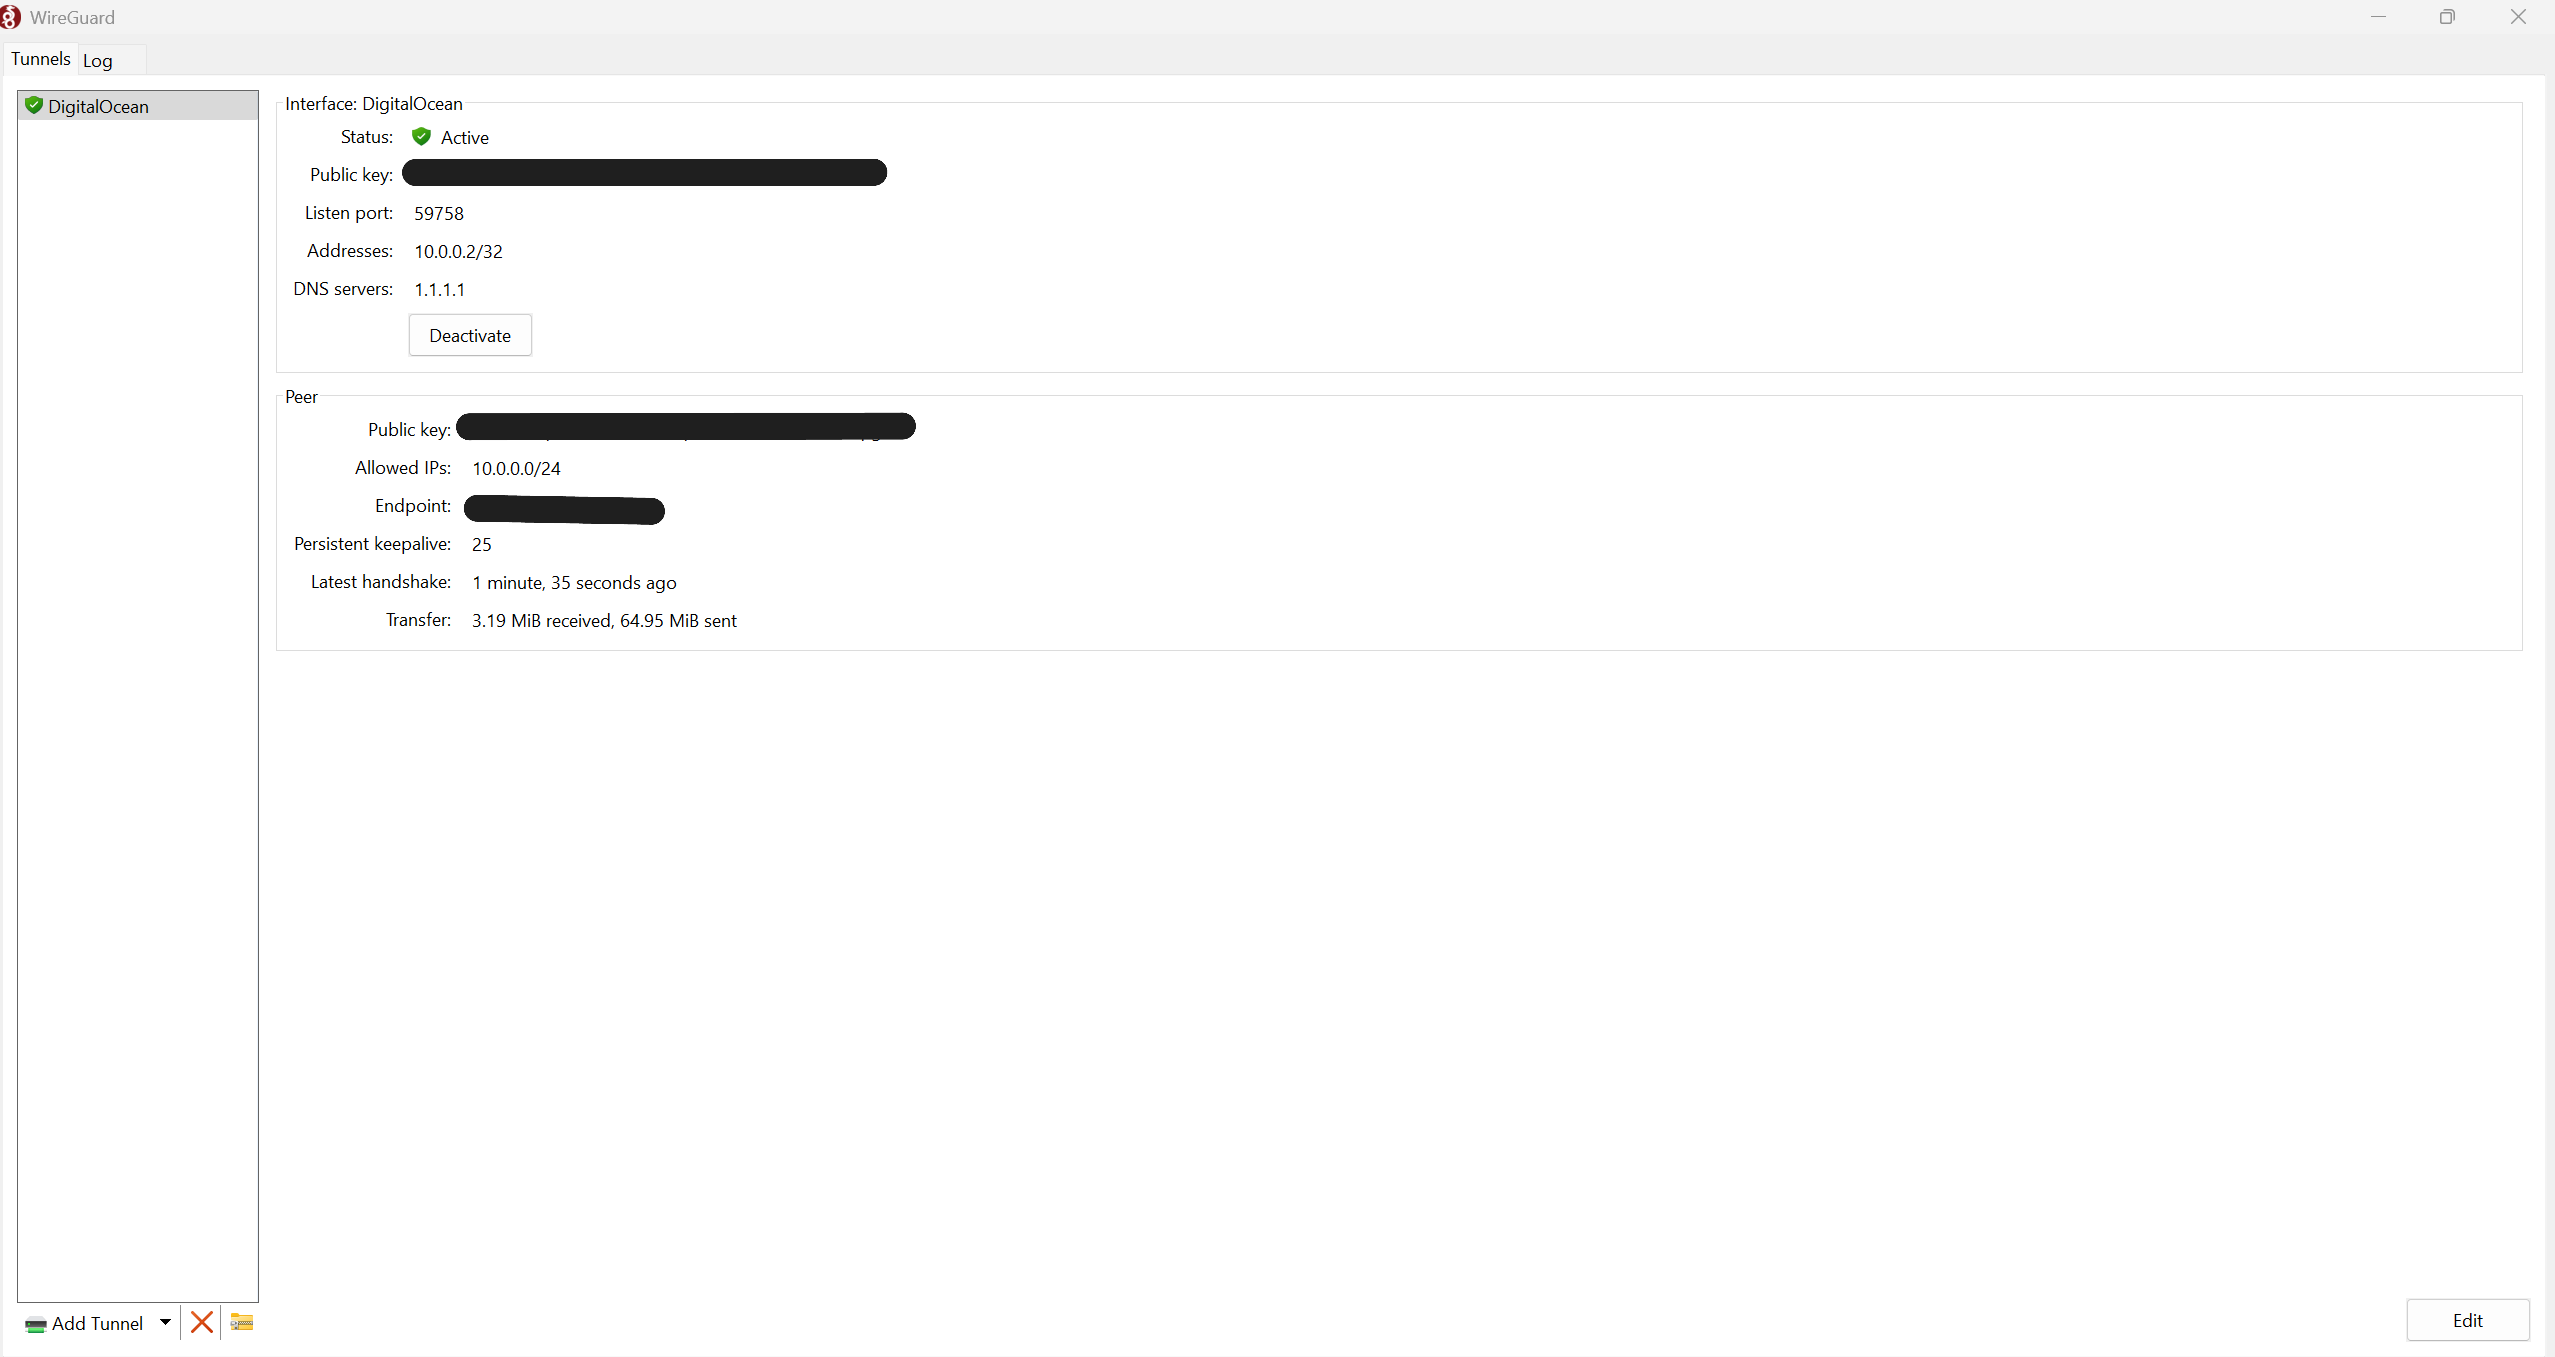
To bridge the network gap securely, I set up a WireGuard VPN, configuring my Linux VM as the VPN server and my Windows machine as the client. Once the tunnel was active, both machines were on a shared private network:
10.0.0.1 was the Linux VM10.0.0.2 was the Windows PC running Endpoint CentralAfter the tunnel was up, I verified bi-directional connectivity over the VPN before continuing.
After setting up the VPN, I edited the agent’s configuration file located at:
/usr/local/manageengine/uems_agent/conf/ServerInfo.json
I updated the following fields to point to the new VPN address:
"serveripaddress": "10.0.0.2""serversecipaddress": "10.0.0.2"Then I restarted the agent using:
sudo systemctl restart dcservice
However, the agent still failed to appear in the Endpoint Central console. To debug this, I inspected the log files inside /usr/local/manageengine/uems_agent/logs. The most helpful was:
httpaccess0.log — showed repeated connection failures to 10.0.0.2 over HTTPS, including TLS errors.computer0.log — showed general agent behavior and exit states.dcagentservice0.log — detailed service startup and attempts to fetch policy files.
At this point, I realized that editing ServerInfo.json manually might not be enough. In Endpoint Central on the Windows machine, I went to:
Settings > Agent Settings
There, I changed the configured Server IP Address to 10.0.0.2, which is the VPN IP of the server. I then redownloaded a fresh copy of the Linux agent installer. Installing this updated agent ensured all internal config files pointed to the correct IP from the start, including any TLS-related trust settings.
Even with the correct configuration and agent reinstalled, the Linux agent still failed to connect. Running:
nc -vz 10.0.0.2 8383
returned nothing, indicating the port was blocked by the Windows firewall.
To fix it, I opened TCP port 8383 in Windows Defender Firewall:
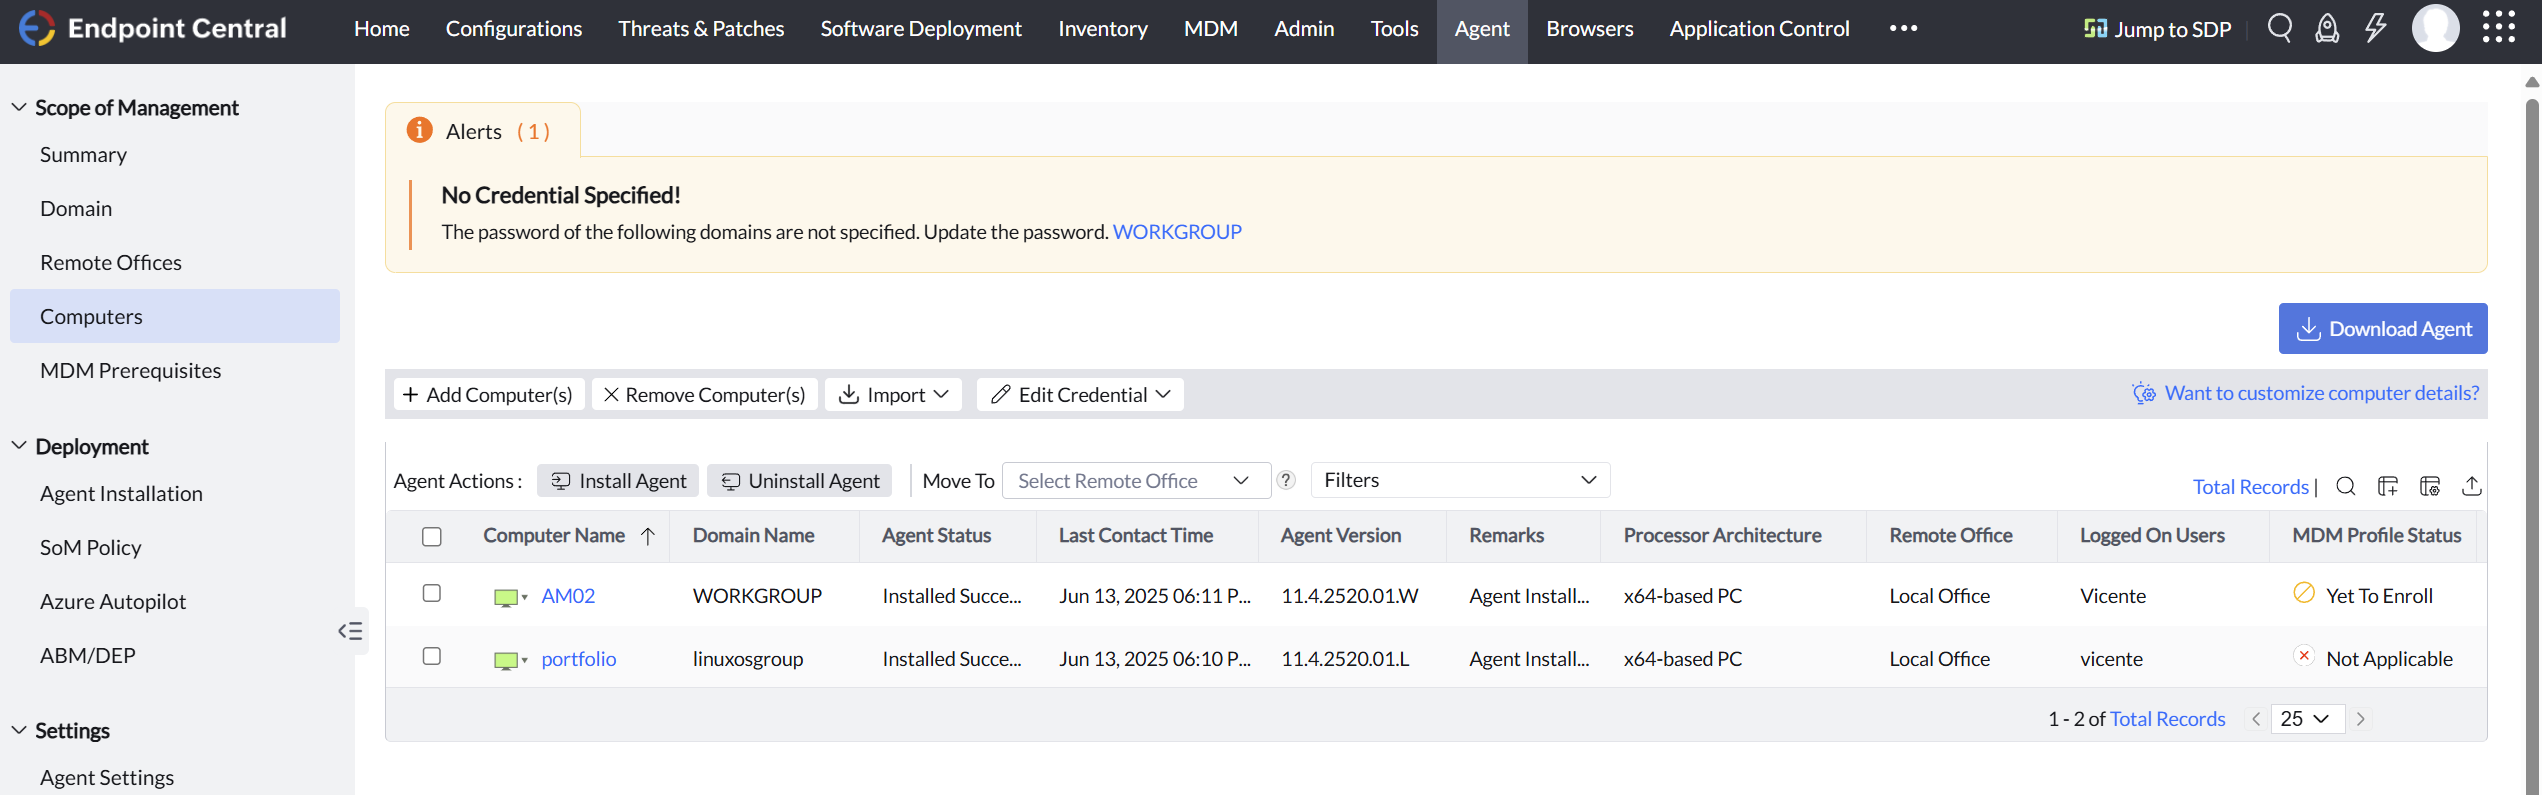
After applying the rule, I restarted the agent on the Linux VM again. This time, the connection succeeded and the agent appeared in the Endpoint Central web console, linked over the VPN and reporting properly.
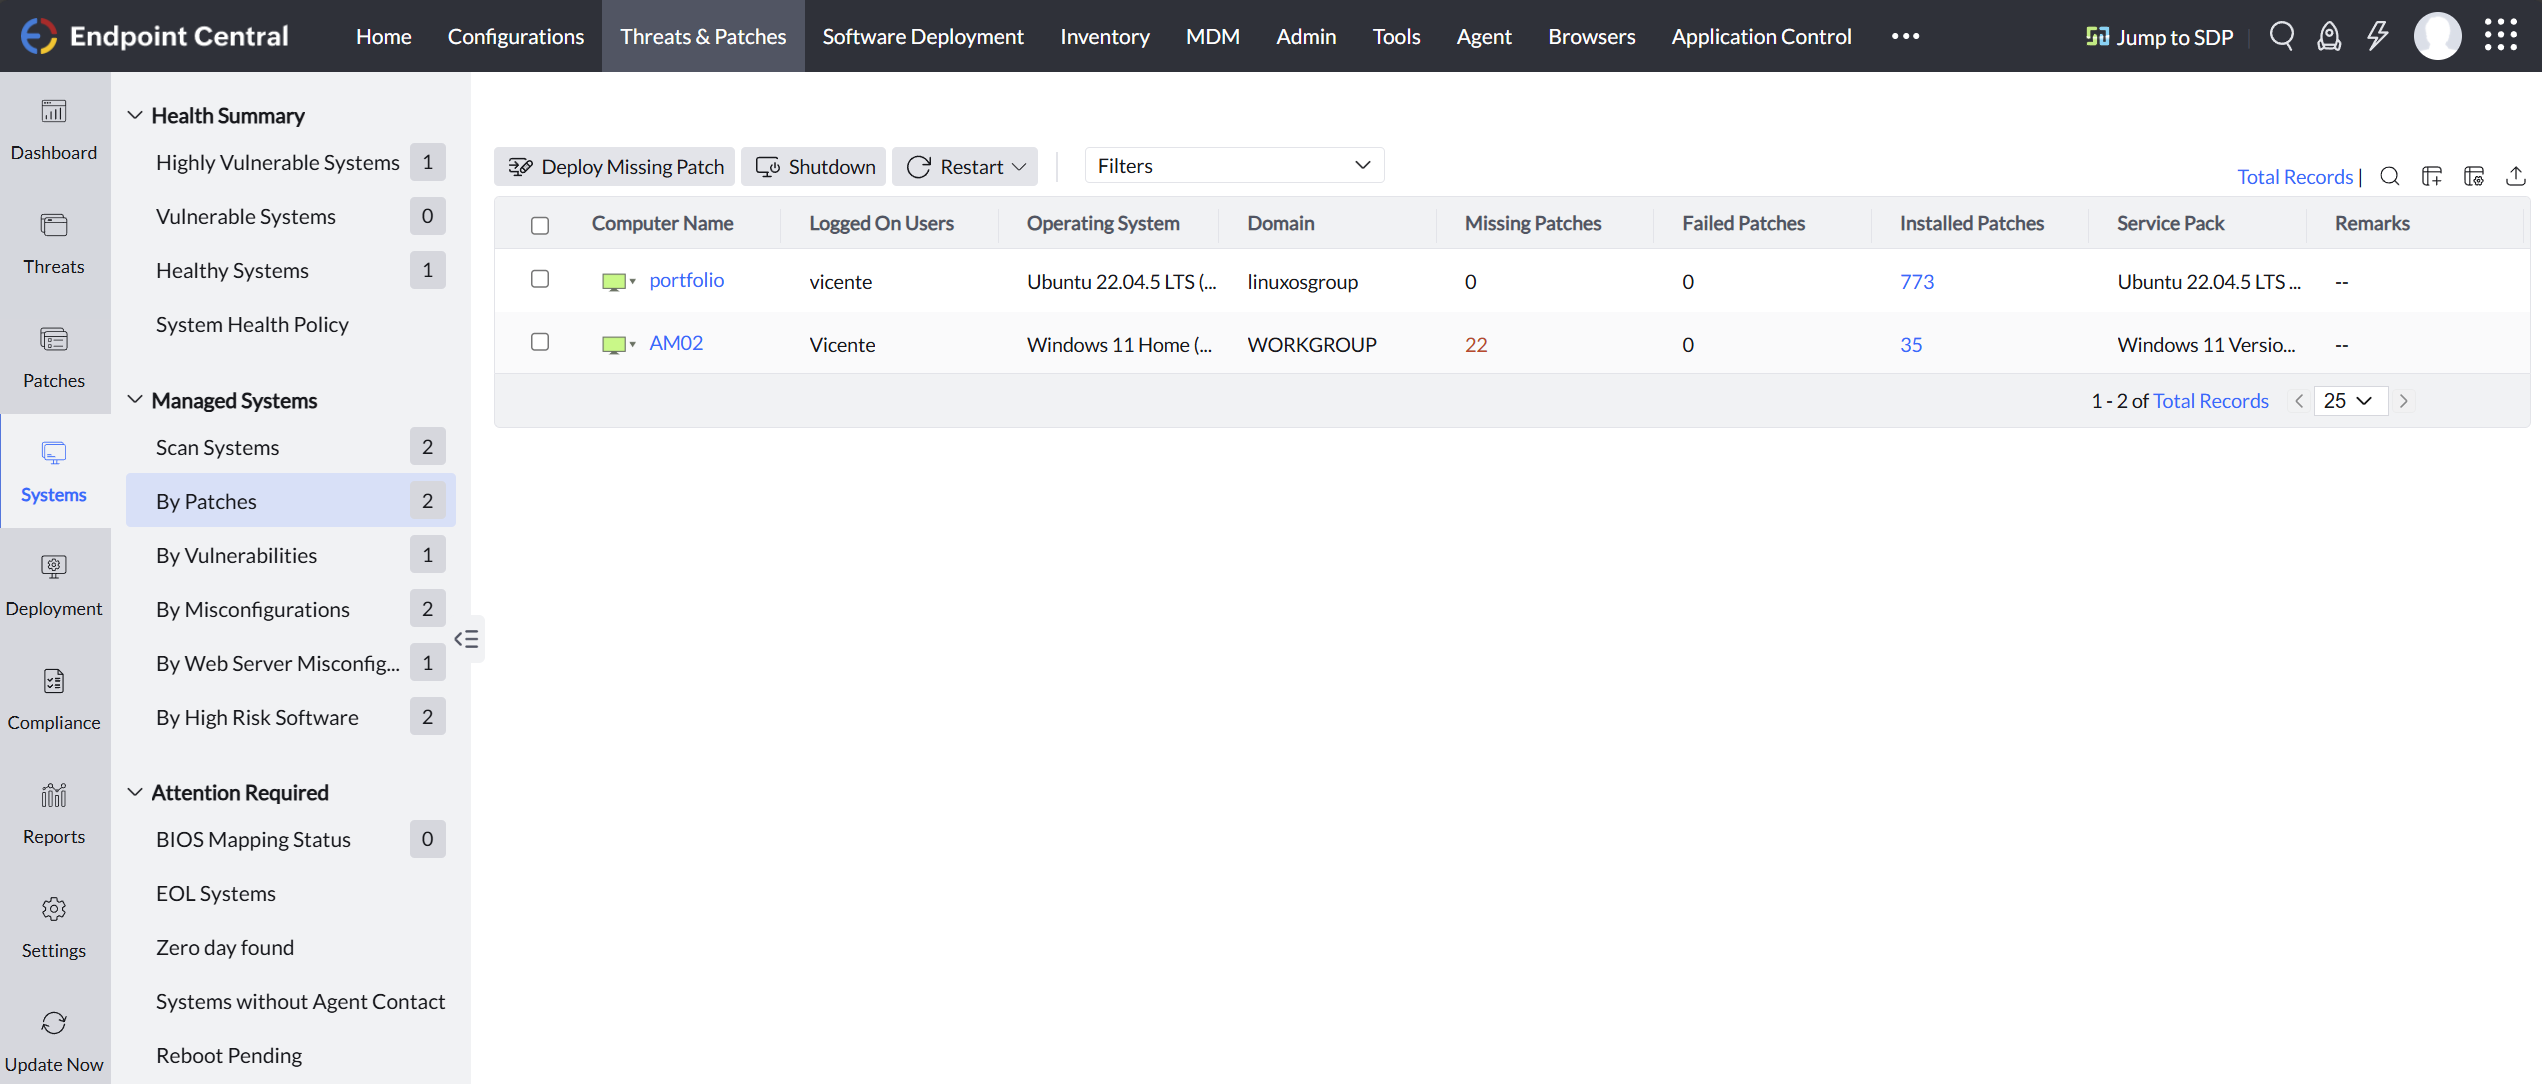
After allowing both agents to complete full system scans, the Endpoint Central dashboard updated to reflect the current patch status and missing vulnerabilities.
This integration demonstrates that tools like Endpoint Central, typically designed for LAN environments, can be extended into cloud-hosted infrastructure using VPN tunnels like WireGuard. Logs like httpaccess0.log were essential for identifying misconfigured TLS issues and blocked ports. Additionally, downloading a fresh agent after updating the server IP in Endpoint Central ensured that all dependent config files matched the VPN setup. Combined with the proper firewall rules, this approach makes it feasible to bridge cloud and local systems in a secure and managed way.